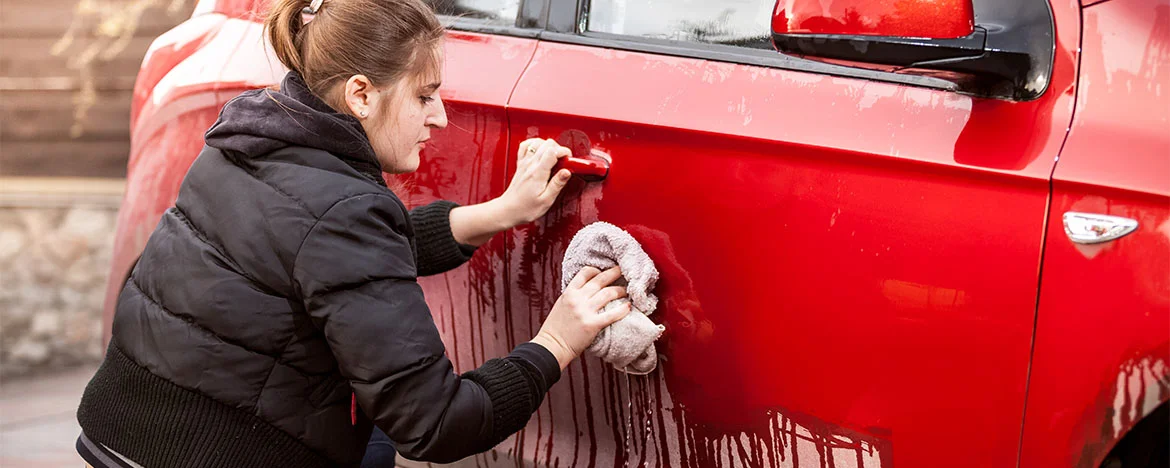
Lady washing a red car
Beth Twigg

Beth Twigg

Beth is our Content and Paid Media Specialist, tasked with creating great articles to keep you both entertained and informed. She has two years previous experience, but has been writing and scribbling for much longer.

Read time of 7 minutes.

The ultimate guide to washing your car at home

Let’s face it – for most of us, washing and cleaning our cars is just another job to add to the endless weekend to-do list. And quite frankly, we’d rather be off doing anything else. 

Like daydreaming about our next holiday.

But with brighter weather around the corner, there’s no better time to roll your sleeves up, get your welly boots on (or, dare we say it, your crocs), and give your car a right good scrubbing.

It might take a couple of hours out of your Saturday, but the satisfying feeling that comes with looking at your sparklingly clean car? Unmatched.

Plus, it’ll keep everything working properly and prevent against unnecessary wear and tear that you’ll have to pay for at the end of your car lease. A clean car could also potentially keep you on the right side of the law and a lot safer out on the road (we’re looking at you, dirty headlights).

Nor do you want to give loved ones, colleagues or Dave from down the road the chance to leave messages in your car’s dirt coating. Although these can make you smile, we’d recommend mirror steam or post-it notes as better alternatives.

We’ve pulled together a step-by-step guide on how to clean your car inside and out, to give you back the factory-fresh look. Smug feeling when someone comments on how nice your car looks not included – but a lovely extra.

What do I need to clean the exterior of my car?

Before you get going, you’ll want to be suitably armed and ready for car wash battle. These are the things you will need to clean the outside of your car:

  • A hose or a pressure washer
  • Warm water
  • At least one bucket – though two buckets are better
  • A dedicated car wash soap
  • A car wash mitt or sponge
  • Microfibre cloths
  • Chamois
  • A wheel brush
  • Car polish or wax (optional)
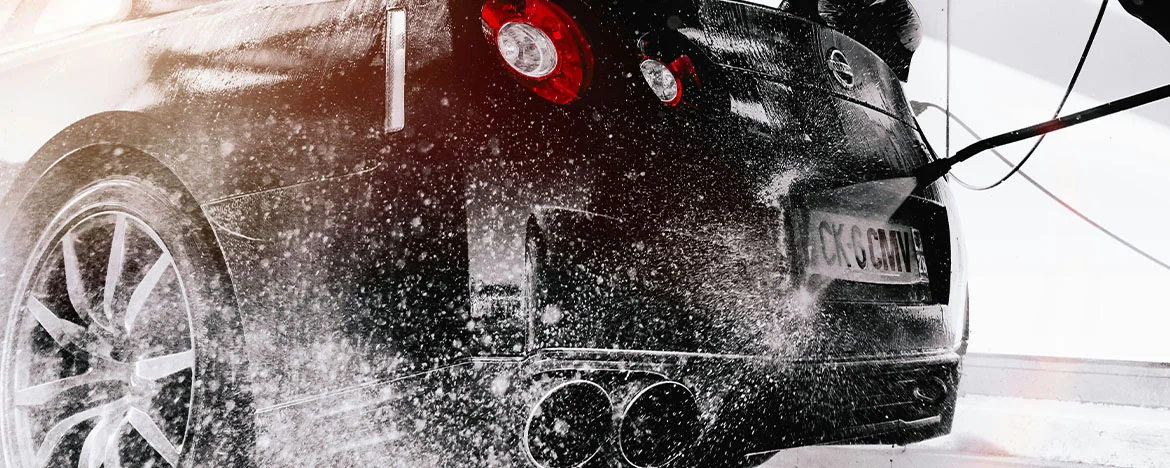
Someone using a pressure washer to clean a black car

How to clean your car’s exterior

Step one: Pre-rinse

Before you do anything else, get your hose or pressure washer out and give your car a good rinse. 

You want to get most of the dirt and grit off the outside, paying the most attention to the tyres and panels behind them where debris, mud and brake dust can collect.

This is particularly important if you’re often darting up and down country lanes – especially after the wet winter we’ve just experienced. 

If you’re using a pressure washer, avoid washing your car on a gritty or gravelly surface. The force of the water could kick up stones and damage your car, landing you with a hefty charge at the end of your car lease deal for excess damage.

Step two: Wash your wheels

Your wheels are likely going to be the muckiest part of your car.

Leave them to the end, and you risk spraying muddy water all over your nicely cleaned vehicle. Don’t say we didn’t warn you.

Your best bet is to give them a solid rinse before you spray them with your wheel cleaner of choice. Let the product sit for a while to do its magic, and then attack the mud with a brush to get out all the grit that’s been building up.

You’ll want to either use a second bucket of clean water or change the water before you give them another once over to get them properly clean, and then give the wheels and wheel arches a good rinse.

Step back, admire, and even give the tyre a little (gentle) kick for added je ne sais quoi before you move onto the rest of the car. 

Step three: Scrub from the top

With the wheels glistening, it’s time to tackle the exterior of your car. 

You’ll want to start at the top and work down, so you’re not dripping dirty water onto the bit you’ve already scrubbed. Use a bucket of lukewarm (clean!) water and your favourite car wash product, and try to avoid using sponges. They can trap grit in the little holes, increasing your risk of scratches. 

You’re better off with a wash mitt or soft brush, using straight lines where possible to clean your car. Circular motions can result in unsightly swirl marks.

Starting with the roof, wash one panel at a time to get a nice, even clean. If it’s a warmer day, make sure to rinse each panel before you move on, to avoid those annoying soapy marks.

Step four: Rinse and thoroughly dry

When you’ve made your way from top to bottom and front to back, and your car is practically dazzling you with how clean it is, it’s time for one last rinse to get the last of the soap scum gone.

After you’ve rinsed, be sure to use a chamois or a soft cloth to properly dry the car. It might seem unnecessary when the sun could do the job, but leaving your car to dry naturally can result in a streaky finish.

And when you’re spending so much time chasing that glossy shine, the last thing you want is a watermark getting in your way. 

Again, you’ll want to work from top to bottom, drying each panel thoroughly before moving on, to avoid rewetting the areas you’ve just dried. 

Step five: Nooks and crannies

When all is said and done, don’t forget about the little nooks that can often get missed.

Once you’ve dried the car, make sure to open the doors and boot and use a cloth to clean between the cracks and get everything spotless, and pick up any lingering drops of water. 

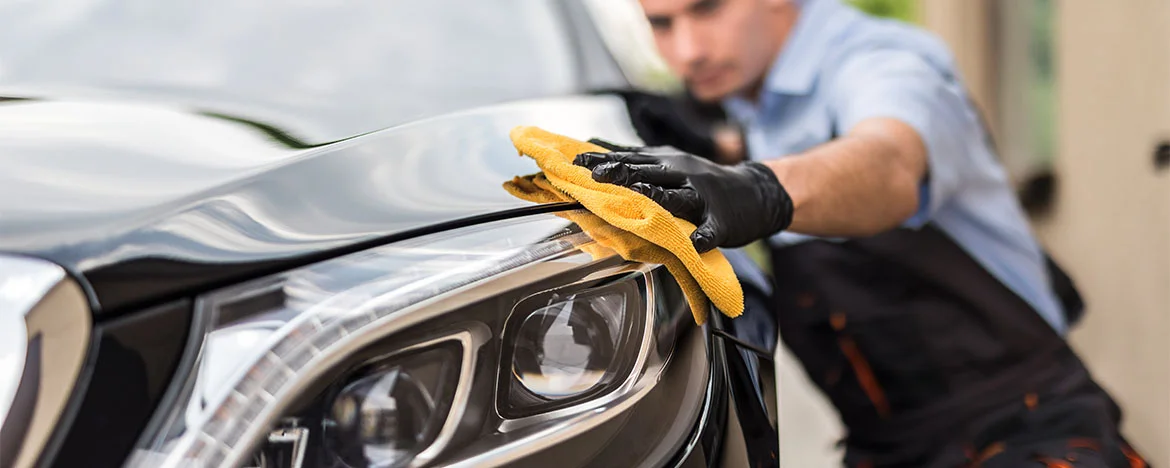
Man polishing a grey car bonnet

Step six (optional): Wax, polish and shine

While not something you’ll want to do every time, if you’re really looking for the showroom shine, you’ll want to dedicate a bit of time to waxing and polishing. 

And not only will it make your car look delicious, but it has the bonus of helping to protect the paint – keeping your car looking better for longer. 

The best news? Each wax coat lasts for around three months, so you only have to wax your car four times a year to save time and money in the long run. 

Use a fine sponge for this one for the best results. All you need to do is apply the wax, let it dry, and then buff it in for a delightful shine. 

Top tips on keeping your car clean after a wash

If you’re anything like us, you’ll want to keep your car looking as nice as possible for as long as possible after you put so much work into it. 

Nothing worse than spending your weekend polishing your car to a beautiful shine, only for a bird to come along and choose your gleaming vehicle to do its – well, we’ll let you fill in the blank on that one.

These are our five top tips to help you keep your car cleaner for longer.

  1. Use a car cover if you don’t have a garage
  2. Apply paint protection
  3. Park undercover where possible
  4. Use wax and polish for extra protection
  5. Use a gel to protect your tyres and give them that showroom sheen

What do I need to clean the interior of my car?

Make sure you’re prepped to scrub your car’s cabin from top to bottom with the following supplies:

  • Hoover
  • Microfibre cloth
  • Thin paintbrush or a clean toothbrush
  • Upholstery cleaner and polish
  • Glass cleaner (vinegar based for a streak-free finish)
  • Bin bag
  • Blu-tac or something similar

How to clean your car’s interior

Step one: Tidy the cabin

There’s no point polishing your dashboard if the car is littered with the detritus that life tends to bring with it.

Before you do anything else, grab a bin bag and get rid of all the rubbish that can easily accumulate over the weeks without us even thinking about it.

Especially if you have children. 

Make sure to check the centre console, glovebox and between the seats to thoroughly clear out the car and collect all those long-forgotten treasures. You might even find a coin or two – perfect for a little treat once you’ve finished.

Coffee, anyone?

Step two: Bash your floor mats

Your poor floor mats are magnets for dirt and debris. 

Remove all the mats from the car and bash them together to remove as much loose dirt as you can. If they’re particularly grubby, you can crack out your bucket of soapy water again to give these a once over.

Just make sure they’re properly dry before you put them back into your car. 

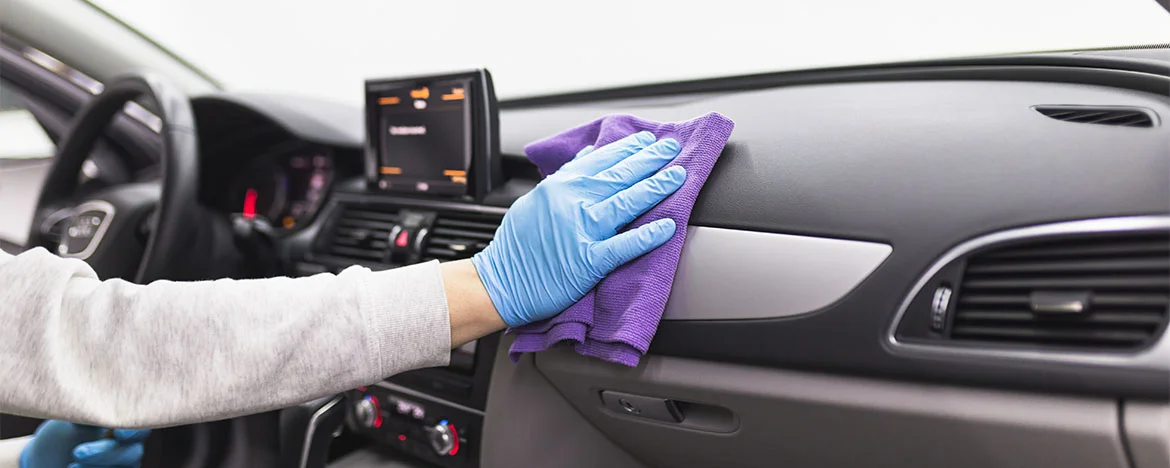
Person cleaning car dashboard

Step three: Get your hoover out

When your car is tidy and the mats are out, it’s time for a good hoovering.

Get rid of any larger stones or objects, and if you have one, use a stiff bristle brush on the carpet for a thorough deep clean before you go in with your vacuum. 

It’ll make it easier to hoover up all the grit and small stones that are traipsed into the car. Don’t forget to push your seats as far forward and back as they can go to get into all the hard-to-reach areas, and give your seats a once over while you’re there. 

And the boot. If your boot is anything like ours, it’ll definitely need some serious attention from your trusty hoover.

Step four: Cupholders and compartments

Your cupholders and little compartments can be some of the grubbiest parts of your interior.

Whether you’ve spilt your morning coffee into the cupholder and forgotten to wipe it out, or left a banana peel in the centre tray, it’s easy for these places to get a little grimier than we would like.

Once you’ve removed any leftover rubbish, go in with a cloth to get most of the dirt out. You can also use blutac, or something similar, to pick up any little bits of dirt in some of the harder to reach or narrower areas. 

Want to keep your cupholders looking brand-new? Consider getting a suitable liner for additional protection, and easier cleaning. Silicone cake cases work for a DIY option!

Step five: Cracks and crevices

This is where your thin paintbrush or old toothbrush will come in handy.

Get those bristles around all the little cracks and crevices that so often go neglected to remove as much dust and debris as you can, using the hoover to suck up anything that comes loose.

Don’t forget your door handles and air vents.

Step six: Time to wipe up

Using your choice of cleaner and cloth – you could even use car interior wipes if that’s more your speed – wipe down the dashboard, middle console, gearshift, steering wheel and door handles.

Anything plastic, metal or leather needs a good wipe down. Just make sure the cleaner you’re using is suitable for the material you’re using it on.

Microfibre cloths are really good for this, helping to pick up the dust rather than smear it around. Once you’ve gone over with a cloth and the cleaner once, use a second – clean – cloth and give everything another wipe down to remove any traces of the product and ensure you’ve removed all the dirt.

Step seven: Freshen up the seats

Your seats are put through a lot over time, and though it’s not something you’ll want to do every time you clean out your car, it’s good to get them freshened up every now and again.

Luckily for you, there are many upholstery cleaning products on the market, so whether you have leather or fabric seats, you’ll find something suitable. 

If you’re using something new, it might be worth patch testing it somewhere out of sight, just in case the product does react badly with the material.

A small brush is handy again here to help knock the dirt out of the harder to reach areas, and make sure you’ve left enough time between cleaning and your next drive to let the seats fully dry. 

Step eight: Wash your windows

Finally, no car clean would be complete without getting the grime and fingerprints off your windows, both inside and out.

Best practice when cleaning windows is to avoid ammonia-based cleaning products, because these can damage other areas of the car like the leather. You can either look for a car-specific glass cleaner or use something with vinegar for the ultimate streak-free finish.

Our best tip? Use straight lines, and wipe vertically on the inside, and horizontally on the outside, so it’s easier to spot any patches that might need an additional wipe.

Make sure you roll down the windows to wipe along the top, and don’t forget your windscreen and your rear window. You can even give the mirrors a once over while you’re there, as the cherry on top of the clean

Top tips to help keep your car tidy

Again, once you’ve put all this effort in to make the inside of your car feel fresh, you’ll want to keep that feeling for as long as possible.

These are our top tips to keep your car’s interior tidy for longer:

  1. Invest in a car bin
  2. Use car organisers to keep your bits tidy and accessible
  3. Change out air fresheners when the smell starts to fade
  4. Line your cupholders
  5. Use a money pot to store loose change
BMW i4

When’s the best time to wash my car?

You might not think it, but a hot sunny day isn’t the best time to wash your car. And neither is a day pouring with rain.

Optimal car washing conditions? A fairly warm, dry day with a bit of cloud cover to keep the sun off your car. Which, luckily for us, describes most of late spring and summer in the UK.

Washing a car in direct sunlight can mean that the sun dries the soapy water quicker than you can clean it off, resulting in water marks left behind on the bodywork – and more work for you getting it off. 

If you do need to wash your car on a particularly sunny day, it’s best to do it either early morning or late afternoon/evening, when the sun isn’t quite as strong and there’s a bit more shade around.

How often should I wash my car?

Don’t shoot the messenger – it’s recommended that you wash it every couple of weeks. We know, we know. It’s a big job to do twice a month.

The good news is, the more often you clean your car, the faster each clean will be because there’s less time for dirt to build up, and less time for the grime to becoming properly embedded.

 Frequent washing also helps to protect the paintwork, and gives you time to inspect the car closely, picking up on issues before they become a bigger problem. 

Now your car is clean, shiny and ready for action, why not show it off on a road trip?